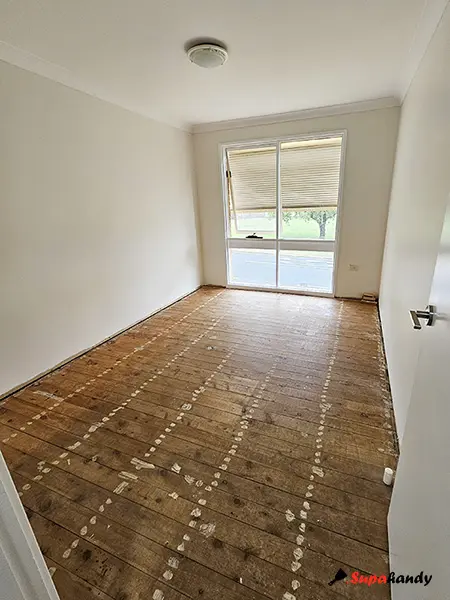
Bought an old house with dusty, worn-out carpets? Before you rush to buy new hybrid flooring, remember that beautiful solid timber flooring often hides underneath! Instead of covering it up, sand the original timber floor planks and stain them to create a much more stunning finish.
In this blog, I’ll walk you through, with detailed steps, on how to sand your old timber floor and make it shine like new. Also, we will address some frequently asked questions and share practical tips to fix the most common issues during the process, and provide the most important safe operation tips.
The essential tools for this project are a drum floor sander and an edging sander, both of which are available for hire at Bunnings or your local tools rental shop. For a truly professional finish, it also helps to have basic carpentry tools on hand, such as a nail punch, hammer, orbital sander, and drop saw.
Step 1: Prepare Your Timber Floors to Be Ready for Sanding
Stripping Old Carpet and Staples Before Sanding Floor
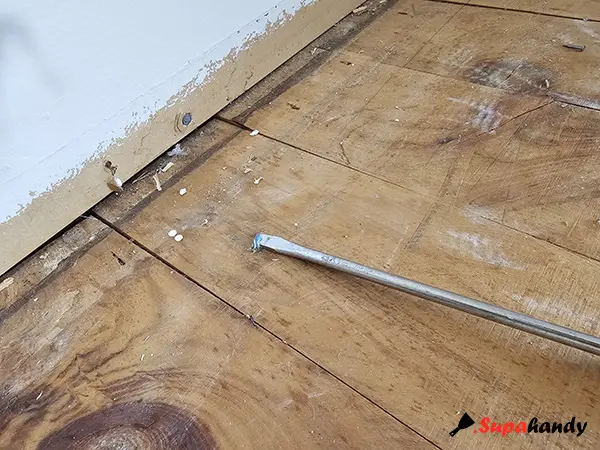
Rip up the old carpet and underlay, then pull out the tack strips along the walls. Don’t forget that the underlay is usually full of staples! Take the time to double-check and use one flathead screwdriver to pull out all staples from the timber floor — missing just one staple can ruin your sandpaper when sanding.
Punch in Exposed Flooring Nails on Sanding Timber Floor
Ensure all timber nails are recessed below the surface. Note that these nails should not be pulled out like carpet staples or nails; instead, use a nail punch and hammer to drive them deeper into the wood.
Fill the nail holes with timber putty. Make sure to press them in firmly so the holes can be sealed.
Repair Damaged and Fasten Loosed Floor Board
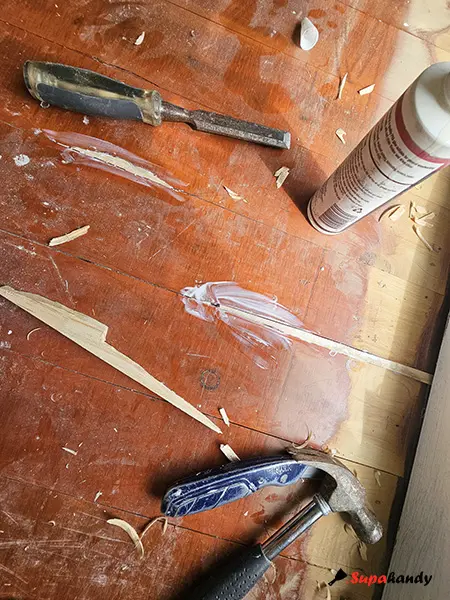
As to cracks on floorboards, apply timber glue to glue them together.
As to small missing sections in your floorboards, the most efficient solution is to cut and fit a small piece of matching timber into the gap. Secure the replacement piece using timber glue (or small finish nails), then sand it until it sits perfectly flush with the rest of the floor.
Fasten or replace any timber boards that are moving or damaged, as these can damage the sanding belt or sanding machine.
Tips: You can get more information from our related blog: How to Repair Scratched Timber Floors, especially for the vanished?
Seal Gaps between Timber Planks
It is common to find gaps between timber floorboards. Over time, even the most seamless flooring will develop spaces due to natural expansion and contraction. You can fill these gaps as needed to ensure a smooth, finished look with timber putty.
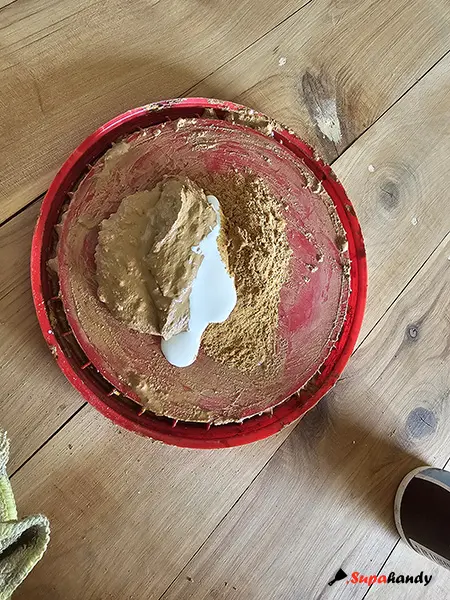
Normally, it would be very hard to find a matching colour timber putty. You can mix fine sanding dust with wood putty and wood glue to create a “custom mixed putty” that better matches the floor’s colour.
Clean the floor and remove the Glue
Remove any glue or sticky material from the floor with a scraper prior to sanding; otherwise, the sanding belt will become clogged quickly. Sweep any debris or big particles in case they damage the sanding belt.
Step 2: Sand the Premier Floor by Drum Sander
Install the Sand Paper Belt on the Drum of the Sander
Different sanders have different ways to replace the sandpaper. As to the Bunnings drum sander, lay the drum sander on its side. Lift up the cover of the drum and slide the paper on.
Always start sanding with a fine-grit belt (80 or 120 grit). If you find you need to sand off more timber, you can try a coarse belt (40 or 60 grit). But be careful, the coarse disk will remove more and make your floor boards thinner very quickly.
Last but most important, ensure you have securely secured the guard (and the belt bolt when applicable).
Tips: Change the sanding belt regularly, not only for a higher sanding quality with a new sanding belt, but also because a clogged or worn sanding belt will even damage your floor and the sanding rubber drum.
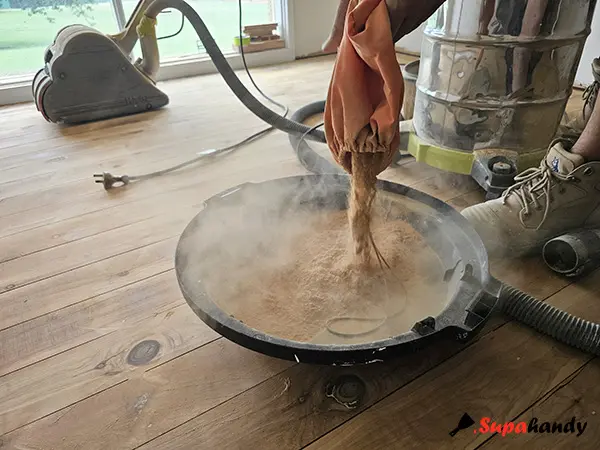
Connect the Vacuum with the Floor Sander
We highly recommend connecting a high-powered vacuum directly to the sander’s exhaust pipe during sanding floor. Since the fittings may not always match perfectly, use heavy-duty duct tape to bridge the gap. Creating an airtight seal is essential for maximising suction and preventing fine dust from escaping during sanding.
Tips: Sanding generates a significant volume of fine dust, which can quickly clog your equipment. It is essential to clean or replace the vacuum filter regularly. This can maintain the maximum suction and ensure to capture dust efficiently throughout the process.
Check Floor Level or Uneven Before Sanding Floor
Before start sanding floor, check across the floor with a straight edge or ruler to see if the floor boards are ‘Cupped’ or uneven.
A cupped floor is a common wood flooring condition where the edges of individual planks rise higher than their centre, creating a concave, ‘U’ shape or rippled appearance. It is caused by a moisture imbalance, where the underside of the board becomes wetter than the top, causing expansion.
As to a cupped floor, you can sand diagonally at a 45-degree angle to level the floor before the formal sanding along the timber grain starts. We will share a practical tip on how to repair a few cupped boards later.
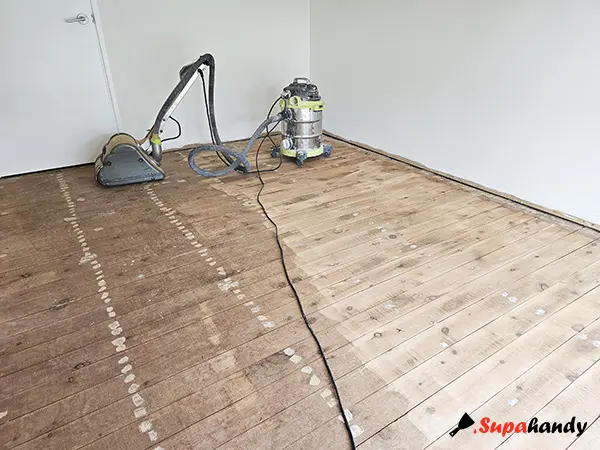
How to Sand the Floor of Your Room by Drum Sander Properly
Move the sander in a smooth, even pattern, slightly overlapping each pass to blend with the rest of the floor. Please take care to keep the machine level to avoid creating a deep mark.
- Tip the machine back onto its rear wheels, and start the machine by pressing the ON/OFF switch firmly. Now move the floor sander slowly forward along the timber grain (and plank joints). At the same time, release the pressure on the control handles to gently lower it so the drum comes into contact with the floor. Please avoid leaving a deep mark on the floor.
- Guide the floor sander in a straight line along the timber grain at a slow walking pace. Allow the machine to do the work and always move at an even pace. Do not force or hold the floor sander back.
- At the end of your forward pass, keep moving as you ease the drum up off the timber.
- On the way back, lower the drum and retreat over the same area at a consistent speed. Always remember to lift the drum before you come to a complete stop to avoid leaving deep ‘drum marks’ in your floor.
- Move the machine over so that it overlaps the area just sanded (using the timber plank joints as a divider line is an easier way). And start to sand the next pass until completed.
Two-step Floor Sanding Method to Sand Floor
Normally, when sanding one regular room floor, the drum sander’s handle requires a “buffer zone” of about 0.6 to 1.0 metres from the wall. Because you cannot complete a full forward-and-backwards pass in this space without hitting the wall by the handle.
Usually, you can use a two-step method to ensure the entire floor is sanded:
- Sand the 1/3(or 1/2, or 2/3) of the room: Start with your back to one wall and sand forward toward the opposite wall. Stop before the handle hits the wall, lift the drum, and pull the machine back.
- Turn the sander 180 degrees: Once the 1/3 (or 1/2, or 2/3) of the room is done, turn the machine around and sand the remaining 1/3 (or 1/2, or 2/3) from the opposite direction.
Tips: Overlap the “blend” area: Where the two directions meet, overlap the passes by at least 0.5 to 1.0 metres to ensure there is no visible line or “hump” in the middle of the floor.
Remove Skirting Board Before Sand the Floor (Optional)
Removing your skirting boards allows the sander to reach the very edge of the floor. You can try to preserve the old boards to save on costs. Or simply replacing them (if you have a drop saw) with new ones after sanding and staining.
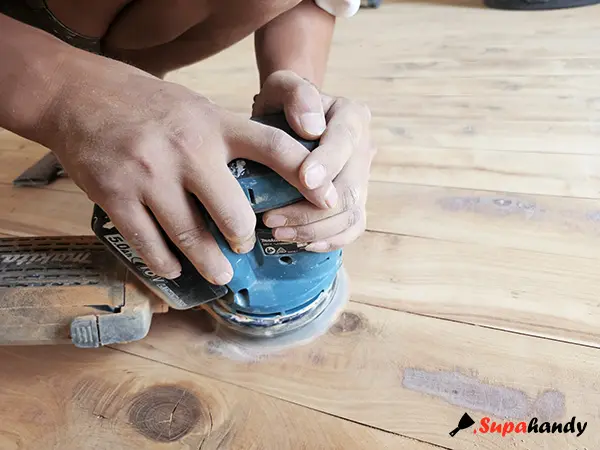
Step 3: Sand Edges of the Floor with an Edge Sander
The edge sander can sand along the skirting board or edges of the floor. Normally these areas is hard to reach by the drum sander.
Securely attach the disposable dust bag to the exhaust pipe of the edge sander. Checking the dust bag is properly seated and the retaining rubber ring is tightened. This can maintain maximum suction and prevent dust from escaping into the room,
Always start the edge sander motor with the disc slightly lifted off the floor, then gently lower it as you begin to move, to avoid leaving a deep mark on the floor. Use a controlled, sweeping motion from side to side to ensure an even finish along the walls.
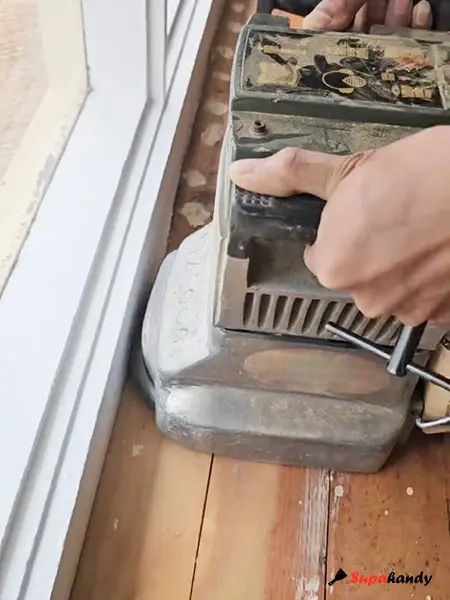
The edge floor sander leased from Bunnings needs you to hold your thumb on the switch to operate. And it will automatically return to the OFF position if you release your thumb from the switch.
To install or replace the sanding disc as following steps:
- Disconnect from the power supply;
- Tip the edger upside down and rest the machine on its handles;
- Remove the T-bar wrench from the clips inside the machine;
- Remove the bolt and washer from the centre of the sanding disc.
Similarly, you can sand the edges with the same grit sandpaper as used with the drum sander. Normally don’t skip a grade.
Tips: We recommend using the drum sander first. As it can sand the main floor area prior to using the edge sander for corners and skirting boards. You can sand edge by edge with a edge sander firstly, if you know and sand off a clearance distance from the wall (and skirting). This Clearance distance is for the drum sander’s body plus enough blending space.
Step 4: Sand the Floor Corners or Unreached
As to the corners that can’t be reached by drum sander or edge sander, sandpaper is the last option. Similarly, use the same grit sandpaper.
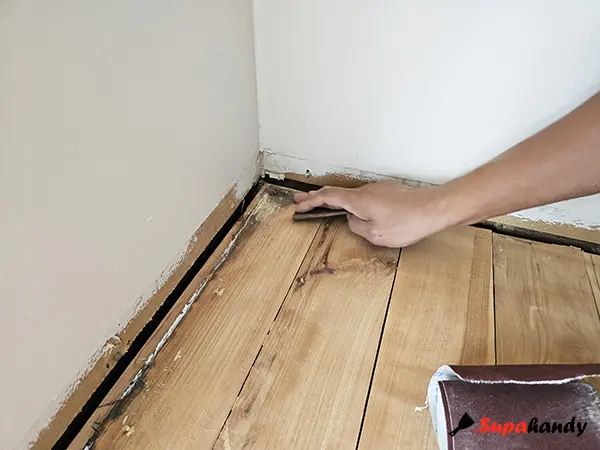
Tips: For smaller, hard-to-reach sections, hand sanding is the most direct approach. However, if you encounter ‘cupped’ or uneven boards, an orbital sander is much more effective at levelling the surface and achieving a uniform finish.
Step 5: Clean and Vacuum the Floor When Sand Floor Finish
Once all floor sanding is completed, sweep and vacuum the floor thoroughly. And use a damp mop to remove all fine dust so it is ready for the floor stain and sealer.
Sand Floor Safety Tips
- Never operate a sander without an abrasive belt fitted to the drum or without the drum guard secured.
- Never install an abrasive belt or disc until the machine is disconnected from the power supply.
- Never allow the power cable to come into contact with the sanding machine.
- Never start the machine until you have a firm grip of the control handles. And tip the machine back onto its rear wheels so the sanding drum or disc is not in contact with the floor.