
Introduction
What is cornice, and what is cornice used for? Installing gypsum cornices (including the most popular 90mm cove cornice or special decorative cornices) can hide gaps or uneven joints between walls and ceilings, creating a seamless look and a decorative transition between them. At the same time, the beautiful decorative cornices can add property value and a touch of elegance and sophistication to a room.
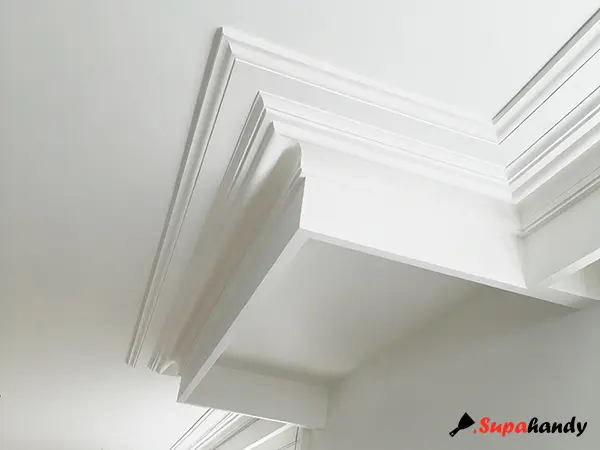
Whether you’re planning to install a classic cove cornice or a decorative plaster cornice, this detailed step-by-step guide will help you to better understand how to install the cornice properly and achieve a professional-looking finish for your ceiling. It covers everything from choosing the right cornice to where to buy it, what tools you’ll need, and how to install it safely and securely.
Tools and Materials Needed for Cornices installation
Installing cornice needs following tools and materials:
- Cornice (cove or decorative)
- Cornice cement or adhesive
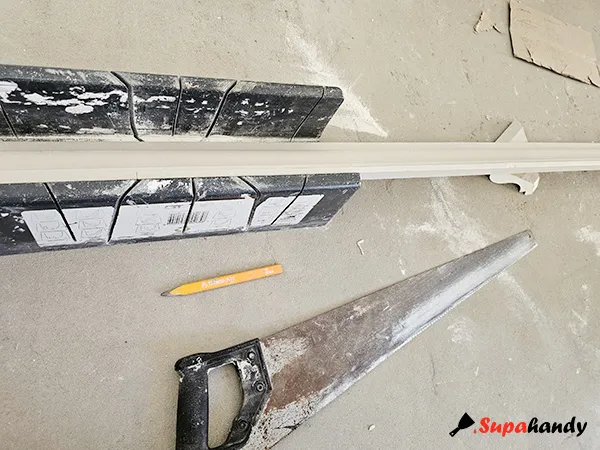
- Mitre box and fine-tooth saw
- Measuring tape and pencil
- Plaster blade and a damp sponge
- Sandpaper
Most of tools and materials used to cut and install cornices can be purchased from Bunnings, including the most popular 90mm (and 55mm) cove cornice.
As to the mitre box, it’s better to choose the durable and one-piece moulded plastic mitre box to achieve precision and accuracy cutting on cornice. A fine-tooth hand saw produces clean and precise cuts on joints which is easier to seal to be smooth by cornice cement (or Gyprock) components.
How to Choose the Cornices
Select a cornice (and decoration panel or trim) that complements your room’s décor and functionality desired is the first thing before you start to organise to install the cornices. The right cornice cannot only enhance the room’s decor but also hide imperfections and add a touch of elegance.
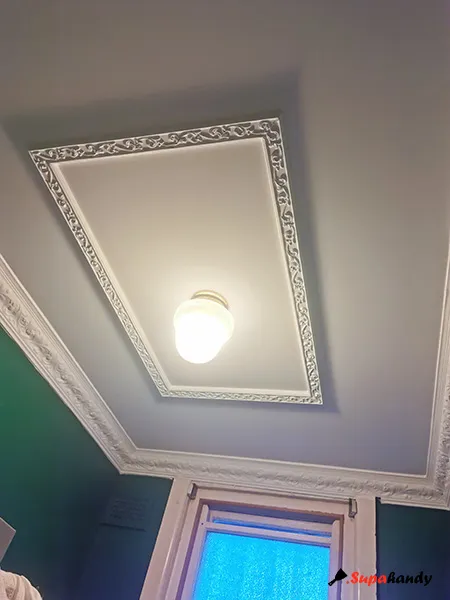
In the big Sydney area, we normally install following types cornices:
- The 90mm cove style cornice is believed to be the most popular classical style. We can see most small to media size properties’ ceiling finished by this style cornice.
- Two-step 45mm and three-step 75mm cornices are deemed as a modern style to match the Zen style new home, particularly welcomed by young families perperties.
- USG Boral’s 90mm Sydney cornice (or Gyprock’s Opera Plaster cornice, or Hume’s Waveline cornice) is a combination of smooth curves and straight lines, and is loved by many residences.
- Elegant styles like Hamptons or Paddington can add elegance and increase the value of a big property.
How to Buy the Cornices
Local Bunnings stores or timber yards (like Swadling Timber & Hardware) usually stock the classic 90mm cove cornice so that you can buy it straight away.
Alternatively, you can visit the main decorative cornice showrooms in Sydney, such as AllPlasta in West Ryde and Bailey Interiors in Mortdale. These larger suppliers can offer a wide range of decorative cornices.
If you want to install a matching cornice to your existing one, it’s better to bring a small section to these suppliers’ showrooms to double-check.
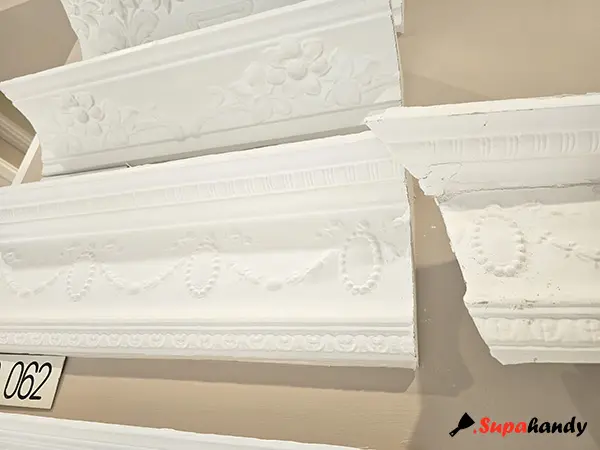
Once you choose the cornice, you can buy or order the cornice number you need. Decorative cornices usually take one to two weeks to manufacture, unless they are already in stock.
Tips: Normally, these cornice supplier would stock some popular cornices in their warehouse. It’s an easier and quicker choice to choose some stocked cornice.
Measure the perimeter of the rooms to determine the total length of cornice you need. It’s better to add an extra 10% to the total length for waste on the cut-off, or an extra 20% amount if you are not very skilled and tend to cut off more when cutting incorrectly.
Step-by-Step Guide on How to Install Cornices
Step 1: Preparation for Cornices Installation
Prepare the Walls and Ceiling: Ensure the surfaces are clean, dry, and free from dust or debris. Scrap off any rough, loose, or gritty masonry or paint flakes if necessary.
It’s best to scrape off any paint in areas where cornice adhesive will be applied. A wire stripping disc is recommended for quickly removing paint — even tough or stubborn coatings — but it works best on flat, level surfaces. If the existing painted surface is uneven or textured, using a high-quality grip primer is another option to help improve adhesion for cornice cement. Patching the loose masonry: Ensure the surfaces are level and solid.
Patching and sanding any rough or gritty areas left after removing old cornice: When removing the old cornice, expect some gritty debris to be left behind — be sure to clean the area thoroughly before installing the new one.
Step 2: Test Fit Cornice Samples and Mark Their Position
Cut a small section of cornice as samples: Use a mitre box to cut one pair of small sections of 45-degree internal angles for internal corners. For external corners, cut one pair of small lengths of 135-degree external angles.
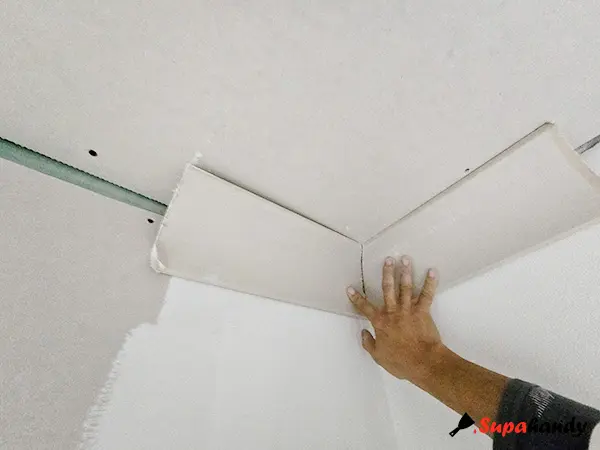
Test and mark cornices position on the wall and ceiling: Try to match and fit these two internal angles’ cornices in all internal corners one by one, and mark their edges’ position on the ceiling and wall with a pencil. Repeat the same process for the external corners and mark the cornice positions on the ceiling and wall around all external corners accordingly.
Step 3: Measuring and Cutting the Cornice
Measure Wall’s Length
Measure the length of each wall accordingly. Normally, it’s suggested to leave 3-5mm shorter than the actual wall length.
Set the Cornice Orientation Correct in the Mitre Box
The ceiling side (front edge) of the cornice sits on the bottom of the box (facing out toward you). The wall side (back edge) rests against the side of the box (facing upward).
Cutting for Internal Corners (Inside Corners)
Cut each piece at a 45° angle, but in opposite directions, so they join together like a puzzle. The back edge (wall side) will be longer than the front edge (ceiling side).
- Left-hand piece: Cut at a 45° angle with the saw angled to the left.
- Right-hand piece: Cut at a 45° angle with the saw angled to the right.
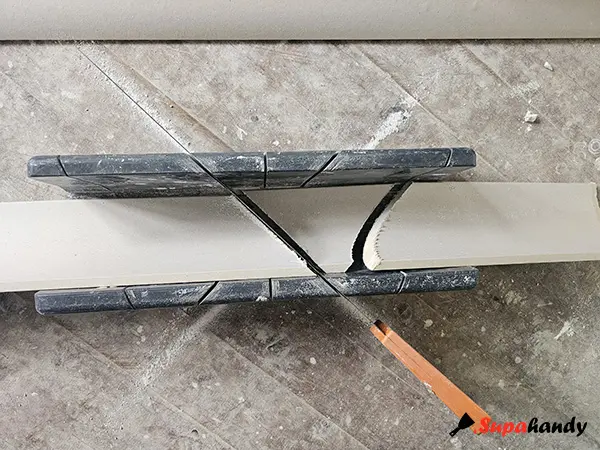
Cutting for External Corners (Outside Corners)
The front edge (ceiling side) is now longer than the back edge.
- Left-hand piece: Cut at a 45° angle with the saw angled to the right.
- Right-hand piece: Cut at a 45° angle with the saw angled to the left.
Dry Fit (optional if test fit and position marking were completed in the previous step)
Do a dry fit before applying cornice cement. Use sandpaper or a knife to make minor adjustments if needed. Make sure joints are tight and smooth before fixing them in place.
Step 4: Applying Cornice Adhesive
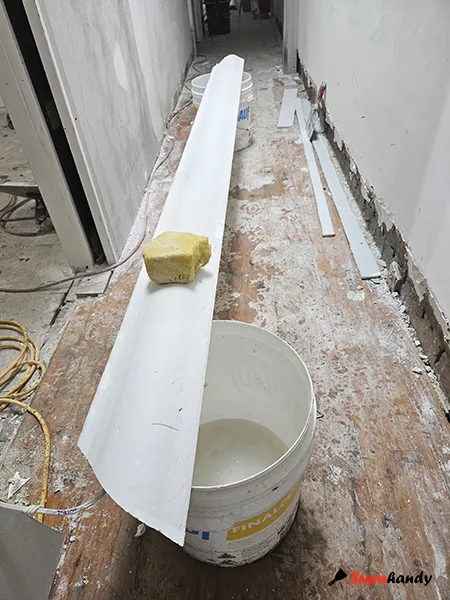
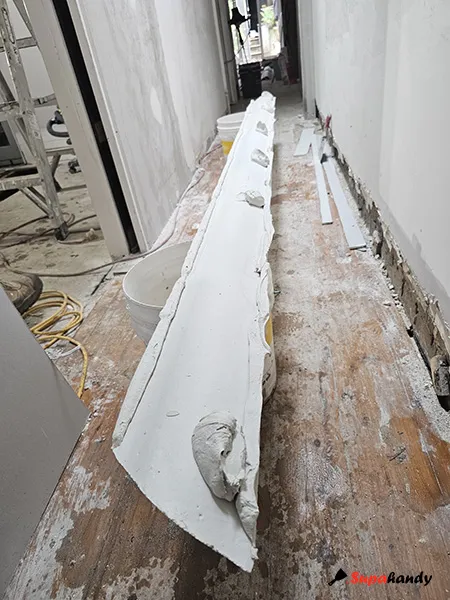
Apply cornice cement along the top and bottom edges of the back. If installing a large decorative cornice, dampen the back of the cornices with a wet sponge before applying extra-duty cement (adhesive) spots for a stronger bond.
Step 5: Fixing the Cornices on the Wall
This step is the most important step, and it do need 2 labors to work together and quickly hang on the cornices by following steps:
- Position the cornices against the wall and ceiling;
- Press it firmly into place, following the pencil-marked guidelines;
- Match the joints and fill the joints with adhesive components;
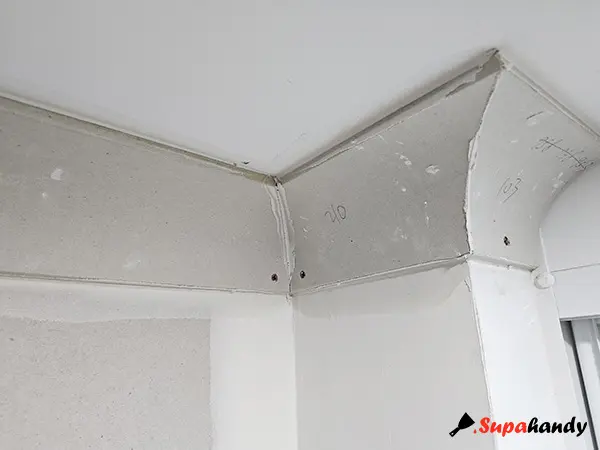
- Secure cornices on ceiling/wall by screws (or nails) at approximately every one meter (nom), or on very short sections of external angles, or at the joint between two cornice pieces.
Tips: Secure cornice by screws (or nails) is very important. Many cases of loose or fallen cornices are caused by not using screws, together with an insufficient amount of cornice adhesive.
Step 6: Join Cornice Pieces
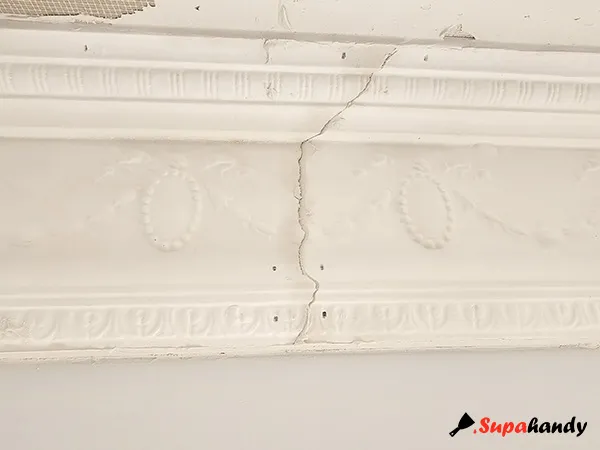
Normally the longest size of cornice is 4.8m. As to longer than 4.8m wall, usually it needs to join two or three pieces cornices together. As to decoration cornices, it need align and match two pieces pattern together, in addition to line them up.
Tips: Secure the joints between cornice pieces using a combination of adhesive and screws or nails.
Step 7: Finishing Touches
- Fill joints and gaps with extra adhesive or gap filler.
- Remove the extra adhesive by using a plaster blade.
- Patch the screw holes and seal the joints by cornice adhesive components;
- Clean excess with a damp sponge for a smooth finish.
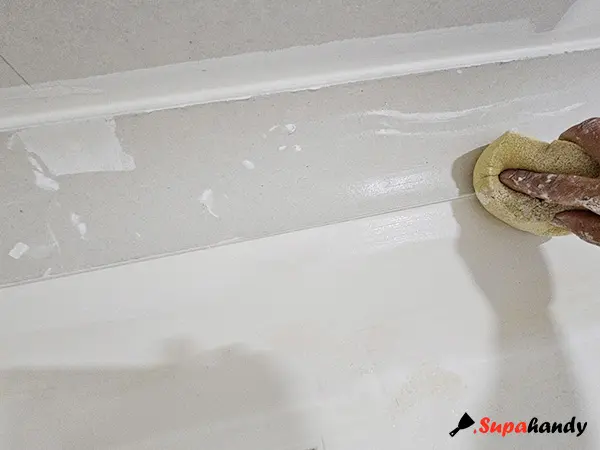
- Patch the joints, scratches or screw holes by Gyprock setting components further.
- (Optinal: especially for replacing old cornice) Patch the ceiling (or wall) if the old cornice marks are exposed by Gyprock setting components (the best practice is to patch the old, gritty marks before new cornice installation).
- Allow it to dry, then lightly sand for a seamless look.
Step 7: Paint Cornice (& Ceiling, then Wall)
- Apply primer.
- Paint the cornice together with the ceiling.
Why the Cornices Fall Down from Wall and Ceiling
A cornice may sag or separate from the ceiling or wall junction for several common reasons, such as using inadequate or incorrect adhesive, or the cornice adhesive failed to stick to existing paint, improper installation, or structural movement, etc. This issue is especially likely when the wall is tiled, as is often a common scenario in modern bathrooms and laundries.
So, one of the most important rule is to screw (or nail) cornices on the ceiling or wall timber frame every one meter (more or less) to secure the cornice further, even if you have applied quite enough cornice adhesive.
Our Installed Cornices
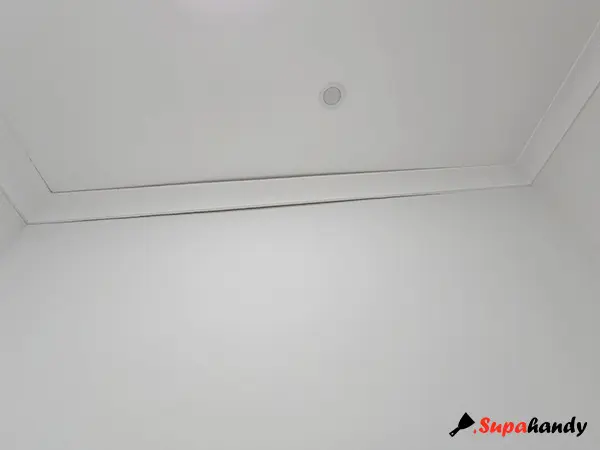
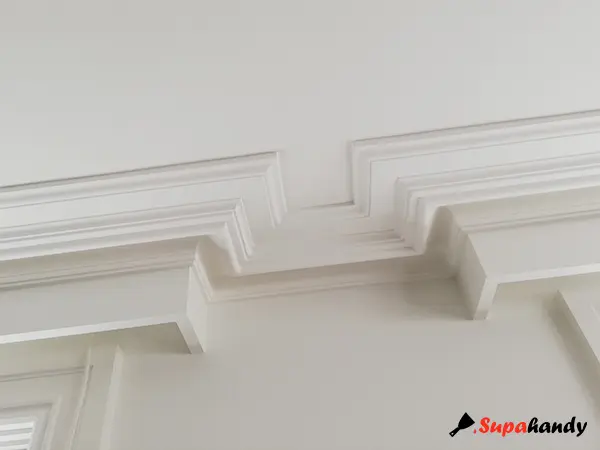
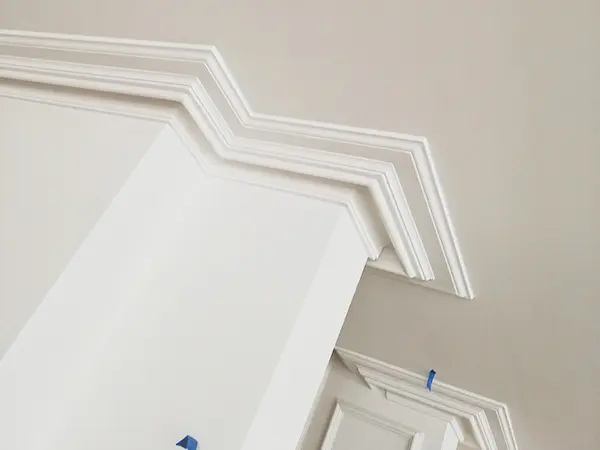
Since 2018, after we helped Ms. Pamela Remodeling her heritage home (details can be referred on our blog: We Help Our Customer Remodeling a Heritage Home), we install an expanding variety of premium cornices, ceiling panels, and trims for more homeowners in Sydney.
Summary
As we can see, decorative cornices add an elegant touch to any room, enhancing the transition between walls and ceilings with intricate designs. Unlike standard cove cornices, decorative cornices are often larger, more detailed, and require greater skill and extra care during installation.
We recommend starting with a standard 90mm cove cornice, which is ideal for beginners due to its simple profile and ease of cutting and installation. Once you gain confidence and master the basic techniques — such as cutting internal and external corners, applying adhesive, and creating seamless joints — you can gradually progress to more ornate and decorative cornices.