
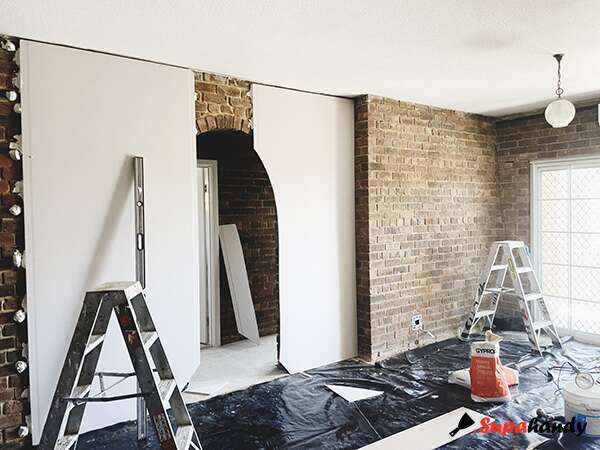
Based on years of properties repairing and renovation projects in Sydney, we’ve observed that gyprock over internal brick wall (or masonry or render wall) are increasingly popular, whether in new built double brick houses or old dated brick properties. We’ve completed several of these transformation jobs especially in the last couple years. Gyprocking over brick walls is a cost-effective and ideal method. It can brighten a “dark and dusty” room, providing a smooth and more vibrant wall lining finish. In this article, we will delve into the key steps for properly gluing plasterboard on brick wall, drawing from our extensive onsite experience, and offer a comprehensive and detailed guide on how to prevent the most common defects that typically arise in gyprock brick wall installations.
Preparing the Brick Wall Surface Before Gyprocking
Newly built brick walls are usually clean and oil-free. While scraping off any loose mortar with a plaster blade or steel mesh brush is a good practice. For older walls, especially those with paint or loosed mortar, use a blower to clear dust and a plaster blade or steel mesh brush to remove loose paint and mortar is do necessary.
When faced with painted brick or masonry, always grind off the paint in areas where adhesive will bond. A wire brush or grinder does the trick. Some suggest skipping this step if the paint is intact, but it’s risky. Before glue plasterboard on, double check that your masonry adhesive works with painted surfaces. The masonry adhesive instructions or their supplier can confirm this. Avoid oil-based gloss paints especially cause they don’t stick well with water-based adhesives.
Mixing the Masonry Adhesive for Sticking Gyprock over Internal Brick Wall
To make the most of masonry adhesives like Gyprock Masonry Adhesive, which sets in just 40–45 minutes, mix only what you’ll need for one session. Use clean water and a clean container to prevent the adhesive from hardening too soon. Add the adhesive powder into water as specified and stir until the powder is completely damp and the mix is stiff yet smooth for applying daubs. This is very important for the quality of stick Gyprock over internal brick wall.
Applying Adhesive Daubs Directly on Internal Brick Wall
Apply adhesive daubs directly to the brick wall before mounting the plasterboard. Each daub should be 50mm in diameter and at least 15mm thick. For a stronger bond, spread a 150mm x 150mm base on the brick and then place daubs on this base. This bigger size base of daubs can better secure the plasterboard being stick on brick wall.
Position daubs 50mm from the sheet edges. Add extra daubs at butt joints, external corners, and around power points, plumbing fixtures, doors, windows, and skirtings. The experienced plasterer all know this tip especially.
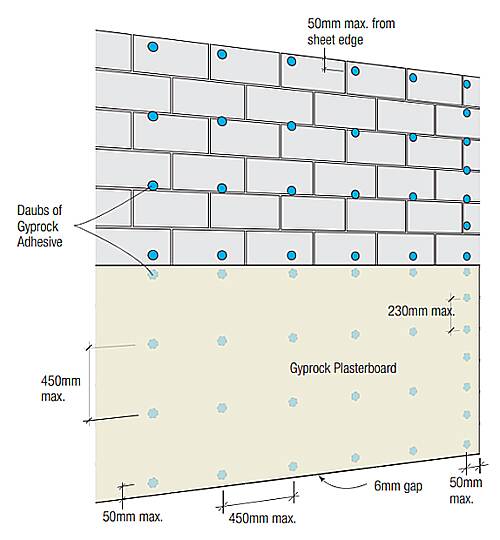
Note: Do not attach gyprock to the wall if the adhesive starts to harden. This is very important. If you do, the plasterboard may not stick correctly to the daubs. A frequent issue arises when the adhesive dries before the plasterboard is placed, leading to weak bonding spots. To check for this defect after 24 hours, tap the gyprock. A hollow sound suggests a poor bond.
If the adhesive on the wall begins to dry, some daubs may not secure the plasterboard tightly. After 24 hours, a separation sound when tapping the area indicates a defect. This is a reliable way to detect the issue of plasterboard failed to stick on brick wall.
Construction sites can be complex. For example, a large brick wall might include a section of timber or steel stud. In these cases, a skilled plasterer would apply Gyprock acrylic stud adhesive to the timber or steel. We know the masonry adhesive doesn’t stick well to these stuff surface.
Checking Wall Alignment with a Spirit Level is a Good Practice
Applying equal 50mm diameter of adhesive daubs is actually impractical. In real-world conditions, most wall surfaces are neither perfectly flat nor perfectly vertical. This means the diameter of the adhesive daubs should be adjusted according to the degree of unevenness of the wall surface. The adhesive daubs should be larger in the deeper recessed sections and smaller in the shallower recessed areas, gradually decreasing in size toward the raised sections of the wall. In this way, a skilled plasterer can build a flat and vertical plasterboard surface even when the underlying brick (or render) wall is uneven or out of level.
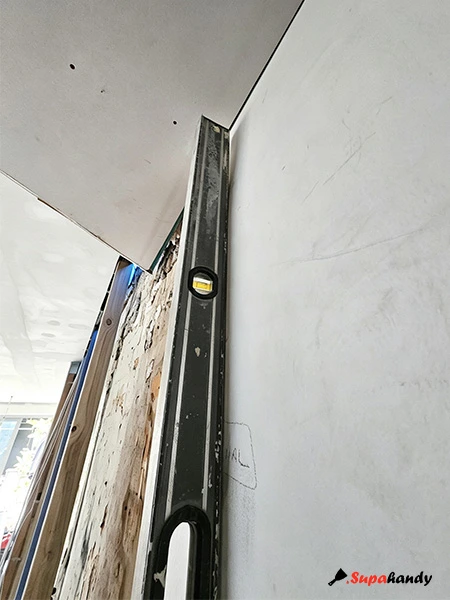
How we can know the wall is uneven or unlevel? Using a spirit level to check brick (or render) wall level before, during and after gluing gyprock wall is actually the trick of a skilled plasterer. The wall’s vertical alignment is so much important, especially for the kitchen or living area cabinet wall. This is actual the secret how a skilled plasterer can ensure the newly glued plasterboard wall is straight, level, and plumb.
Positioning and Pressing Plasterboard onto Adhesive Daubs
Gyprock sheets can stick over internal brick walls either horizontally or vertically, with butt joints staggered at a minimum of 450mm. Typically, professional plasterers use a laser level to ensure the alignment of the Gyprock over internal brick wall. For DIY installations, a spirit level and chalk line can help to establish horizontal alignment the plasterboard over internal brick wall.
Utilizing a longer spirit level (or a straight edge, such as a piece of structural pine), gently press the boards into place vertically and horizontally. Verify the levelness of the plasterboard surface with a spirit level before, during and after the installation of new plasterboard.
Control joints should be strategically installed to correspond with masonry control joints, in long wall runs at intervals not exceeding 12 meters, or between floor levels, such as in stairwells.
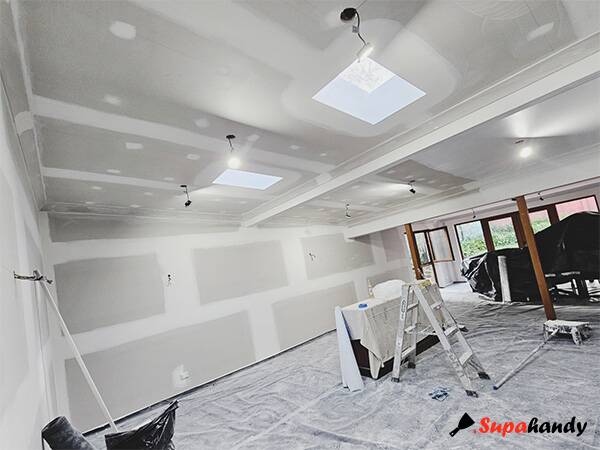
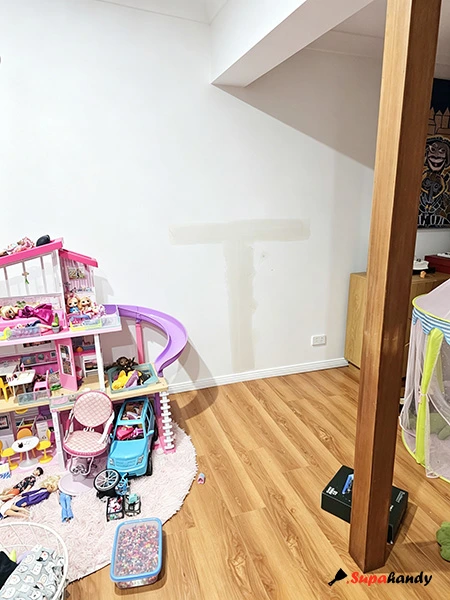
Note: We come back to patch a crack happened on this over 10 meter wall. The crack was caused by pressure from the expanding plasterboard sheets at the butt joint, which eventually caused the set joint to crack and break. All 1.2 m butt joints cracked and twisted, causing fair cracks developed in the adjacent good joints. It’s believed the extra moisture coming from ground and over 10 meter continue wall have been the main reasons for cracks. We plan to cut and install one expansion joint if this crack happen again.
Proceeding with Gyprock Jointing over Brick Wall
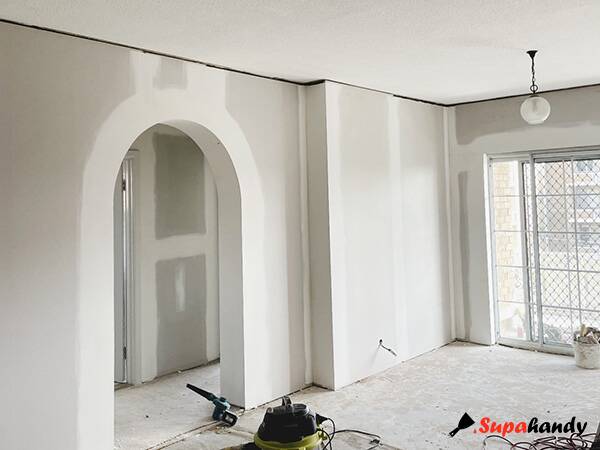
In practice, jointing can begin after about 60 minutes, but it requires careful handling since the underlying daubs may not be fully dry, which could affect the levelness of the plasterboard surface. For optimal results, it’s better to wait 24 hours for the daubs to set properly. Actually the Gyprock Redbook advises not disturbing the walls or setting joints for at least 48 hours unless it’s urgent.
Important Consideration: Avoid Adhesive Fixing in Damp or Moisture-Prone Areas
According to the Gyprock Redbook fixing system, adhesive fixing method shouldn’t be used in
wet areas, tiled ones, over existing linings or vapor barriers, and in fire – rated installations. This means the adhesive fixing method is unsuitable for bathrooms, laundries, or any moisture – prone areas, like damp rooms in ground floor or underground. If someone suggests gluing wet area Gyprock (such as Aquachek or Villaboard) to a brick wall directly, it’s not a good practice.
In many instances, bathroom spaces are very tight, and owners are reluctant to lose any space. Screwing Gyprock Aquachek (or Villaboard) on timber or steel batten anchored over the brick wall would loss up to 30mm-50mm of space from each wall side.
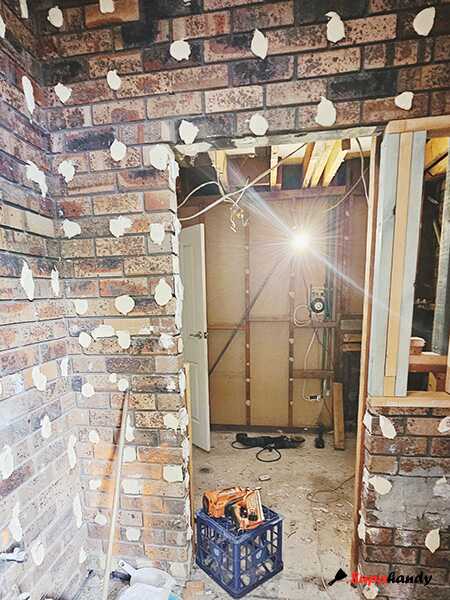
The following photo illustrates how the glued plasterboard can be easily removed from the adhesive daubs. It is evident that this ground floor room has a higher moisture, primarily due to poor ventilation on our understanding. And the moisture has caused the paper layer of the plasterboard between the Gyprock and the adhesive daubs to become wet. Additionally, we can see the adhesive daubs applied are not enough.
Some tradespeople may opt to use masonry adhesive in conjunction with masonry fasteners, such as concrete nails, to fix the Gyprock Aquachek (or Villaboard) over internal brick wall in wet areas. However, it is important to note that since masonry adhesive is water-based, exposure to water can ultimately compromise its adhesive properties.
Conclusion
Gyprocking internal brick walls can brighten and smooth out a room. However, it’s not suitable for damp spaces like bathrooms, laundries, or poorly ventilated ground floors. Villaboard and wet area-specific plasterboards like CSR Aquachek or Boral WR should not be glued directly over the brick walls in these areas.
Reference
Editor’s Notes
- First published on 15 Jan 2025
- Updated on 21 Aug 2026
- Checking wall alignment with a spirit level is a good practice
- A crack developed at a butt joint on an over 10 metres of plasterboard wall